Grafting the Toes
Step Ten
"The Kitchener Stitch"
Grafting the toes is not like just sewing a seam. The finished graft leaves the toe ends looking as if it's one continuous knit stitch, and there is no discernible seam! (Very cool, if you ask me.) However, it can be very intimidating to learn. I've grafted many toes, and sometimes I still have to refer to directions to get started.
Here I will walk you through each step, and hopefully you'll finish with some neatly grafted toes.
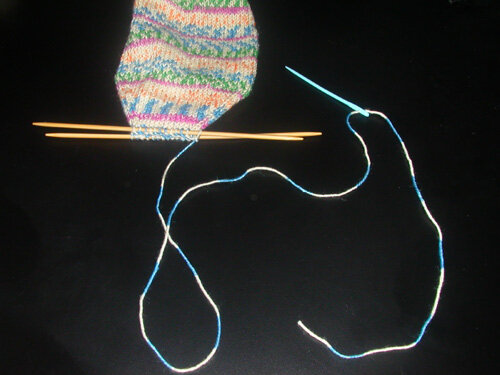
Cut your yarn leaving about 18 inches and thread your tapestry needle. Any needle will do that has a rather blunt tip and the eye is large enough to accommodate the yarn.
Hold the needles so that the working yarn comes from the right, and slide the stitches towards the right ends of the needles.

PLEASE READ ALL DIRECTIONS BEFORE STARTING
Remember:
Knitwise - insert the needle in the direction as if you're going to knit the stitch
Purlwise - insert the needle in the direction as if you're going to purl the stitch.
STEP ONE:
Insert the needle PURLWISE into the first stitch on the front needle, draw the yarn through.

Sorry for the blurry pic!
NOTE: Whenever you draw the yarn through for this entire grafting session, always pull rather tightly. Not extremely tight, but tightly none the less. Also, always keep the working yarn under your knitting needles and under the tapestry needle.
Next, with the yarn needle UNDER the first knitting needle, insert it though the first stitch on the back needle KNITWISE, and draw through.

STEP TWO:
Insert the needle KNITWISE through the first stitch on the front needle, and at the same time, slip that stitch off of the knitting needle and onto the tapestry needle.


Insert the needle PURLWISE through the next stitch on the front needle, draw the yarn through, leaving that stitch on the knitting needle.

STEP THREE:
Insert the needle PURLWISE through the first stitch on the back needle, and at the same time, slip that stitch off of the knitting needle and onto the tapestry needle.


Insert the needle KNITWISE into the next stitch on the back needle, draw the yarn through, leaving that stitch on the knitting needle.

Pull the yarn snug.

REPEAT STEPS 2 & 3 to the end, pulling the yarn snug each time you draw it though stitches.
It helps to chant:
KNIT, PURL, PURL, KNIT
Meaning knitwise, purlwise (on the front needle), purlwise, knitwise (on the back needle), then draw the yarn snug.

On the last two stitches, go through the front stitch knitwise, the back stitch purlwise, and draw the yarn snug.


If you notice that the grafted stitches aren't very neat, you can tighten them up one by one across, starting on the right.
Afterwards, insert the needle through at the corner and pull to the inside of the sock. Weave in the end securely on the inside of the sock, and cut the end.
When finished, the toes will be grafted! How cool?

And there you have it, your finished sock! No matter how wonky it may have turned out, no matter how many mistakes you made, you have successfully knitted your first sock. Be proud of your work! You've learned the basics of how to shape a sock. Ribbing, slipping stitches, shaping the heel, the gusset and the toes. As well as how to knit on DPNs in the round! They’re all very useful skills for the new knitter to learn.
If your sock turned out well, go back to the start and make its mate. Or start a whole new pair with your new skills!

If you enjoyed this tutorial and found it helpful, and would like to leave a tip, you can use one of these options. Thank you!
paypal.me/kristinbellehumeur
Venmo - @KristinBellehumeur
CashApp - $KristinBellehumeur